
So I play games on a Windows Surface Pro 3. Actually I do everything on it, it's my main PC. Surfaces, specifically the i7, which is what I have, tend to get very hot with a lot of use, gaming especially. Sifting through sites and forums looking for solutions the best I could manage was this.

Big old fan pointing at the side blowing cool air across the screen and the back. Mouse, headset and fan all needing power and a lot of excess cords. Not ideal and far from convenient. I managed to somewhat control the excess cords which I posted to Instagram, but it was still far from convenient.
Until I came across Reddit user Cothek's solution. He 3D printed a mount, which sat on top of his Surface, housed a small fan and blew air down into the intake vent. He also had an attached USB hub holder. I liked it, it was simple and worked.
However, me being me (why buy it when you can build it) and with the technology I have access to and the skills I have from my career I decided to model my own.
After some measurements, Revit modelling, adjustments, redesigns, research, and shopping I came to this. It sits atop the Surface similar to Cothek's and houses the fan. My USB hub slides in the middle below the fan, with openings for all my USB plug ins and the end is open to allow an Ethernet cable to plug into my USB hub. Below that is the housing for the excess cords.

Revit model front
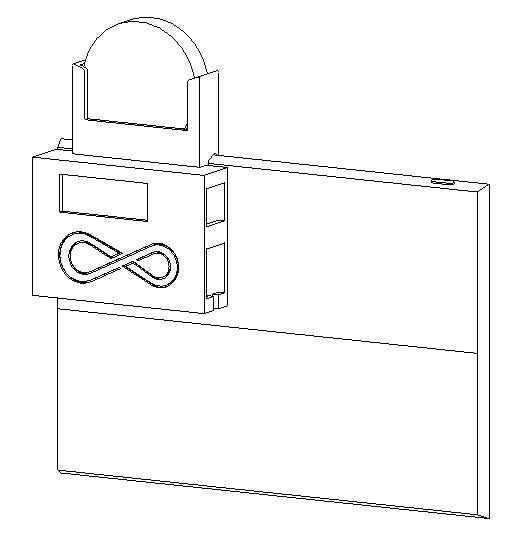
Revit model back
Once the model was done I had to export it to an .STL. I knew nothing about this. Luckily Autodesk has a STL exporter for Revit, Easy. Once that was done I sent it to my good buddy Ron, a 3D specialist, to check my geometry to make sure there were no errors and it was printable. He found some problem areas. No worries, I found this site by Microsoft. They refer to it as a "spell checker" for 3D models. It fixed my geometry and cleaned up the file, reducing it's size by quite a bit. Another quick check from Ron and it's good to go. Throw it into an in browser .STL viewer and we get this.

Off to the printers on Wednesday.
***UPDATE***
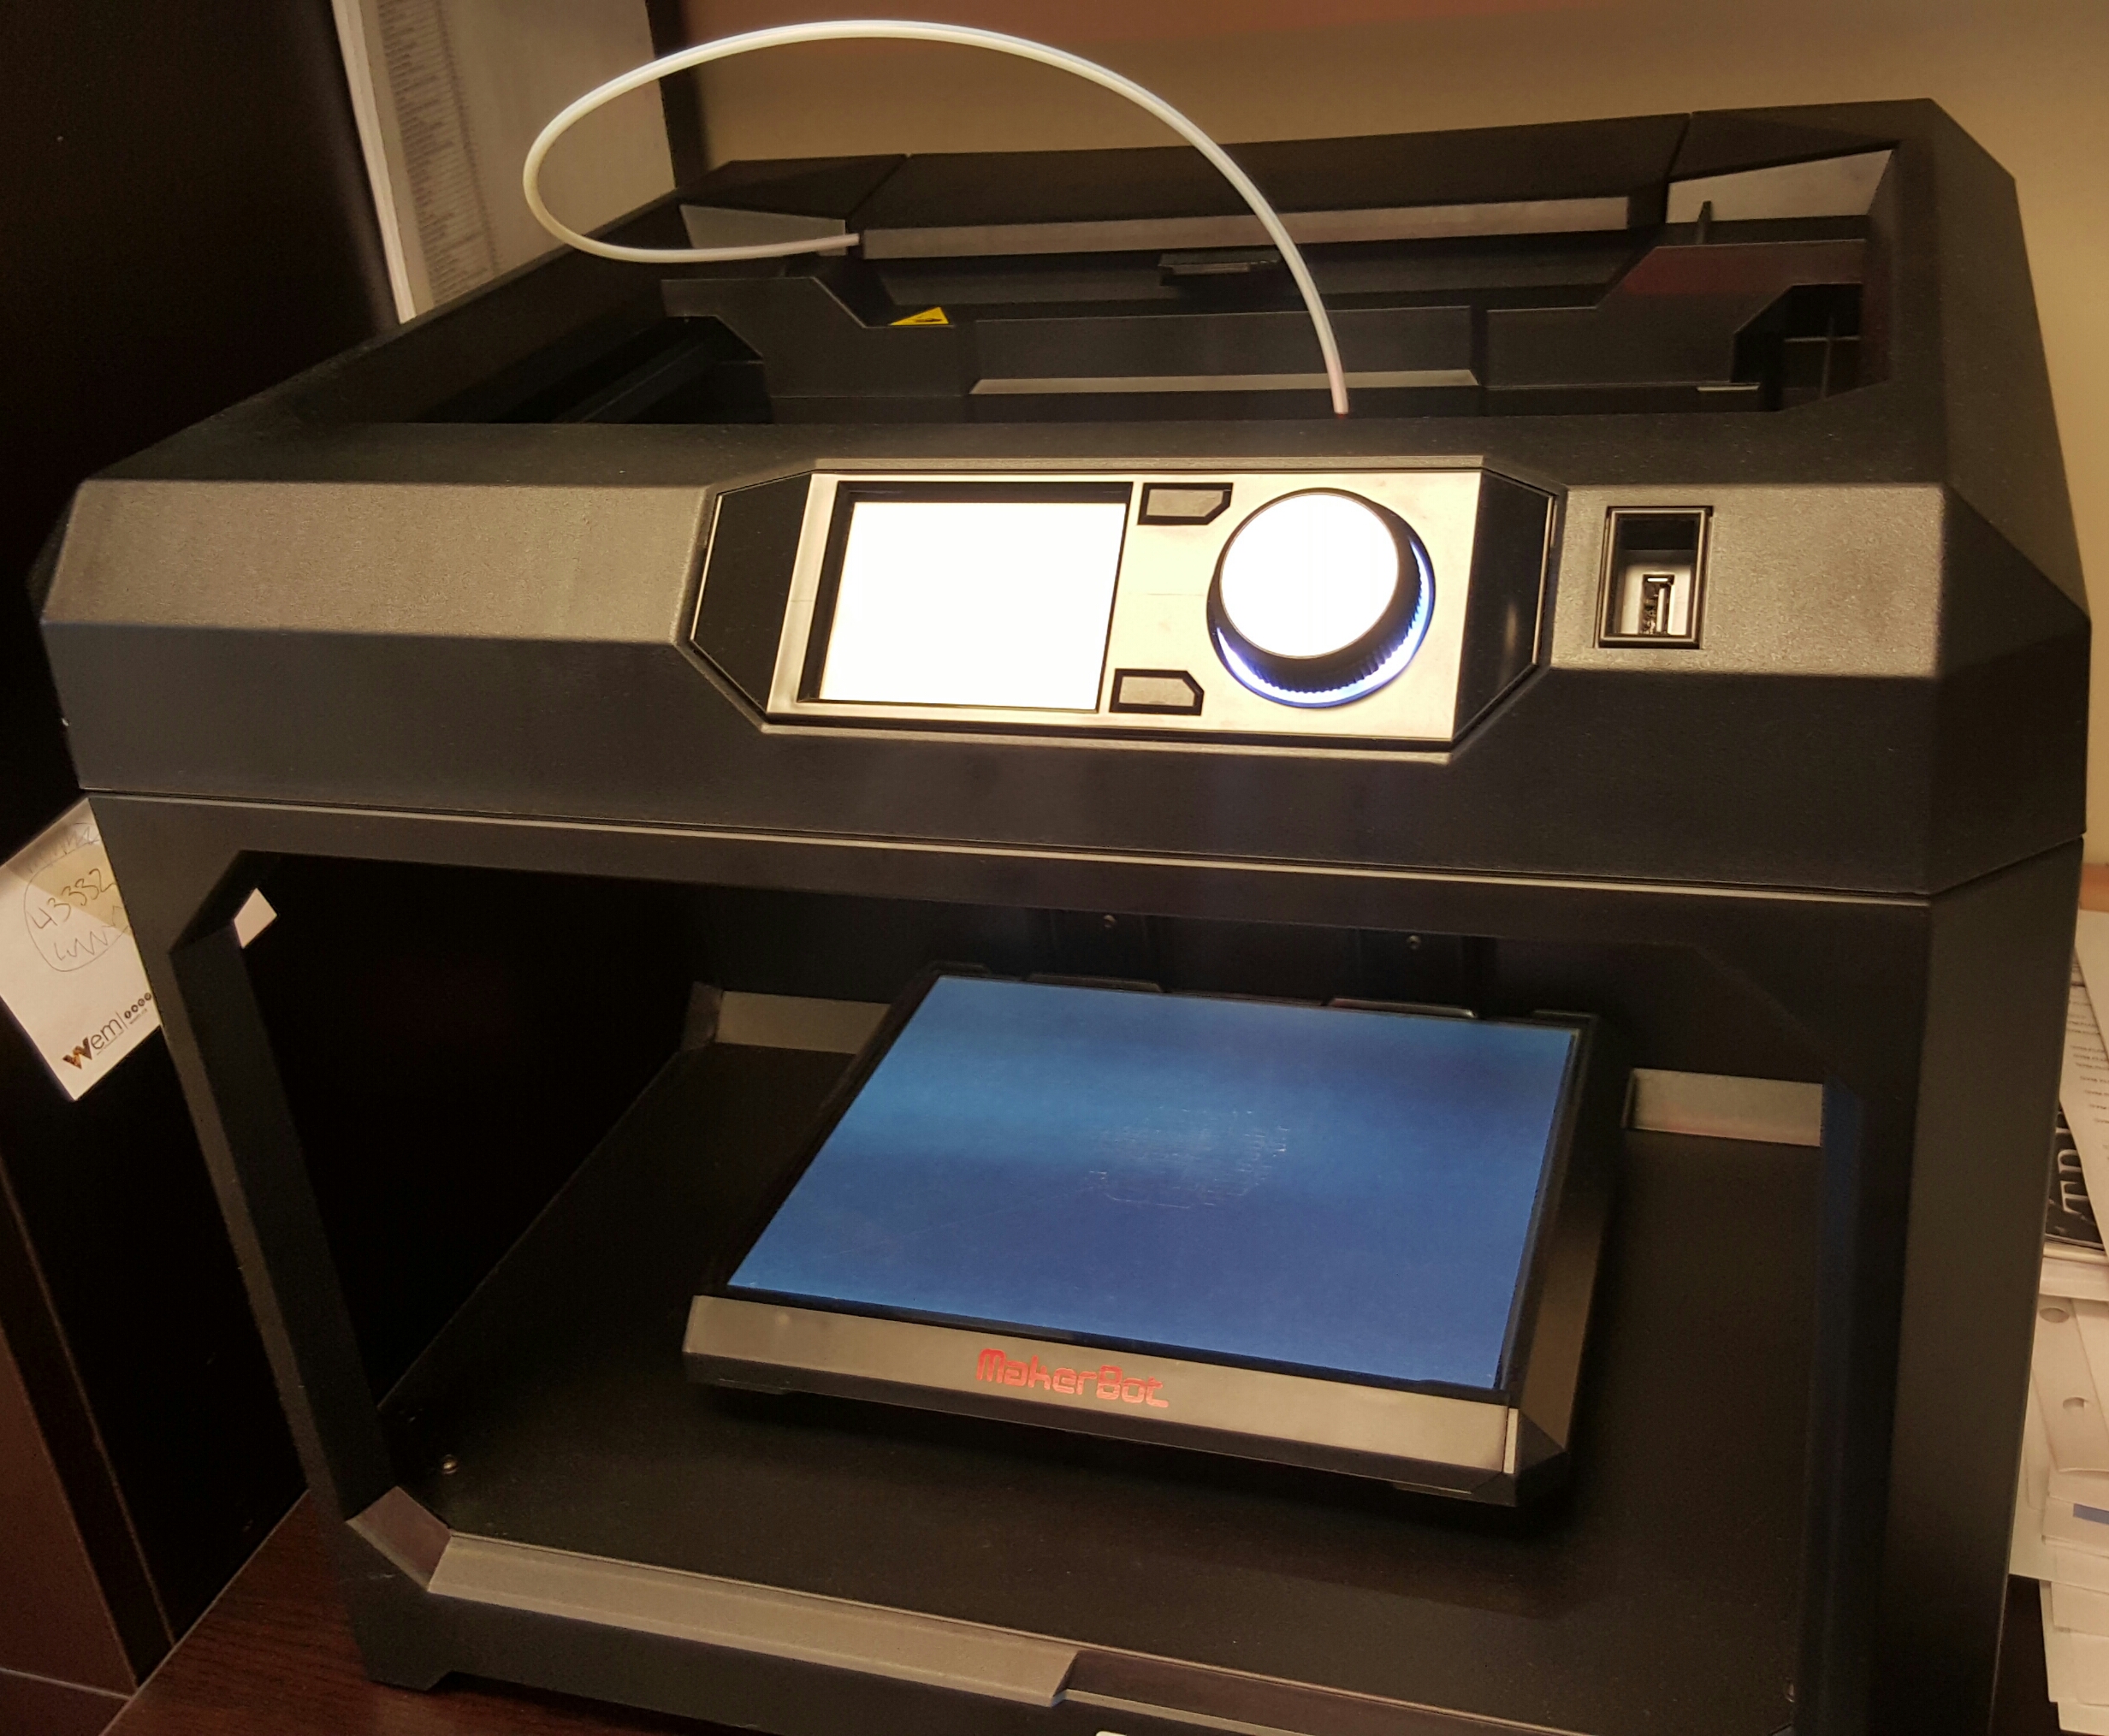
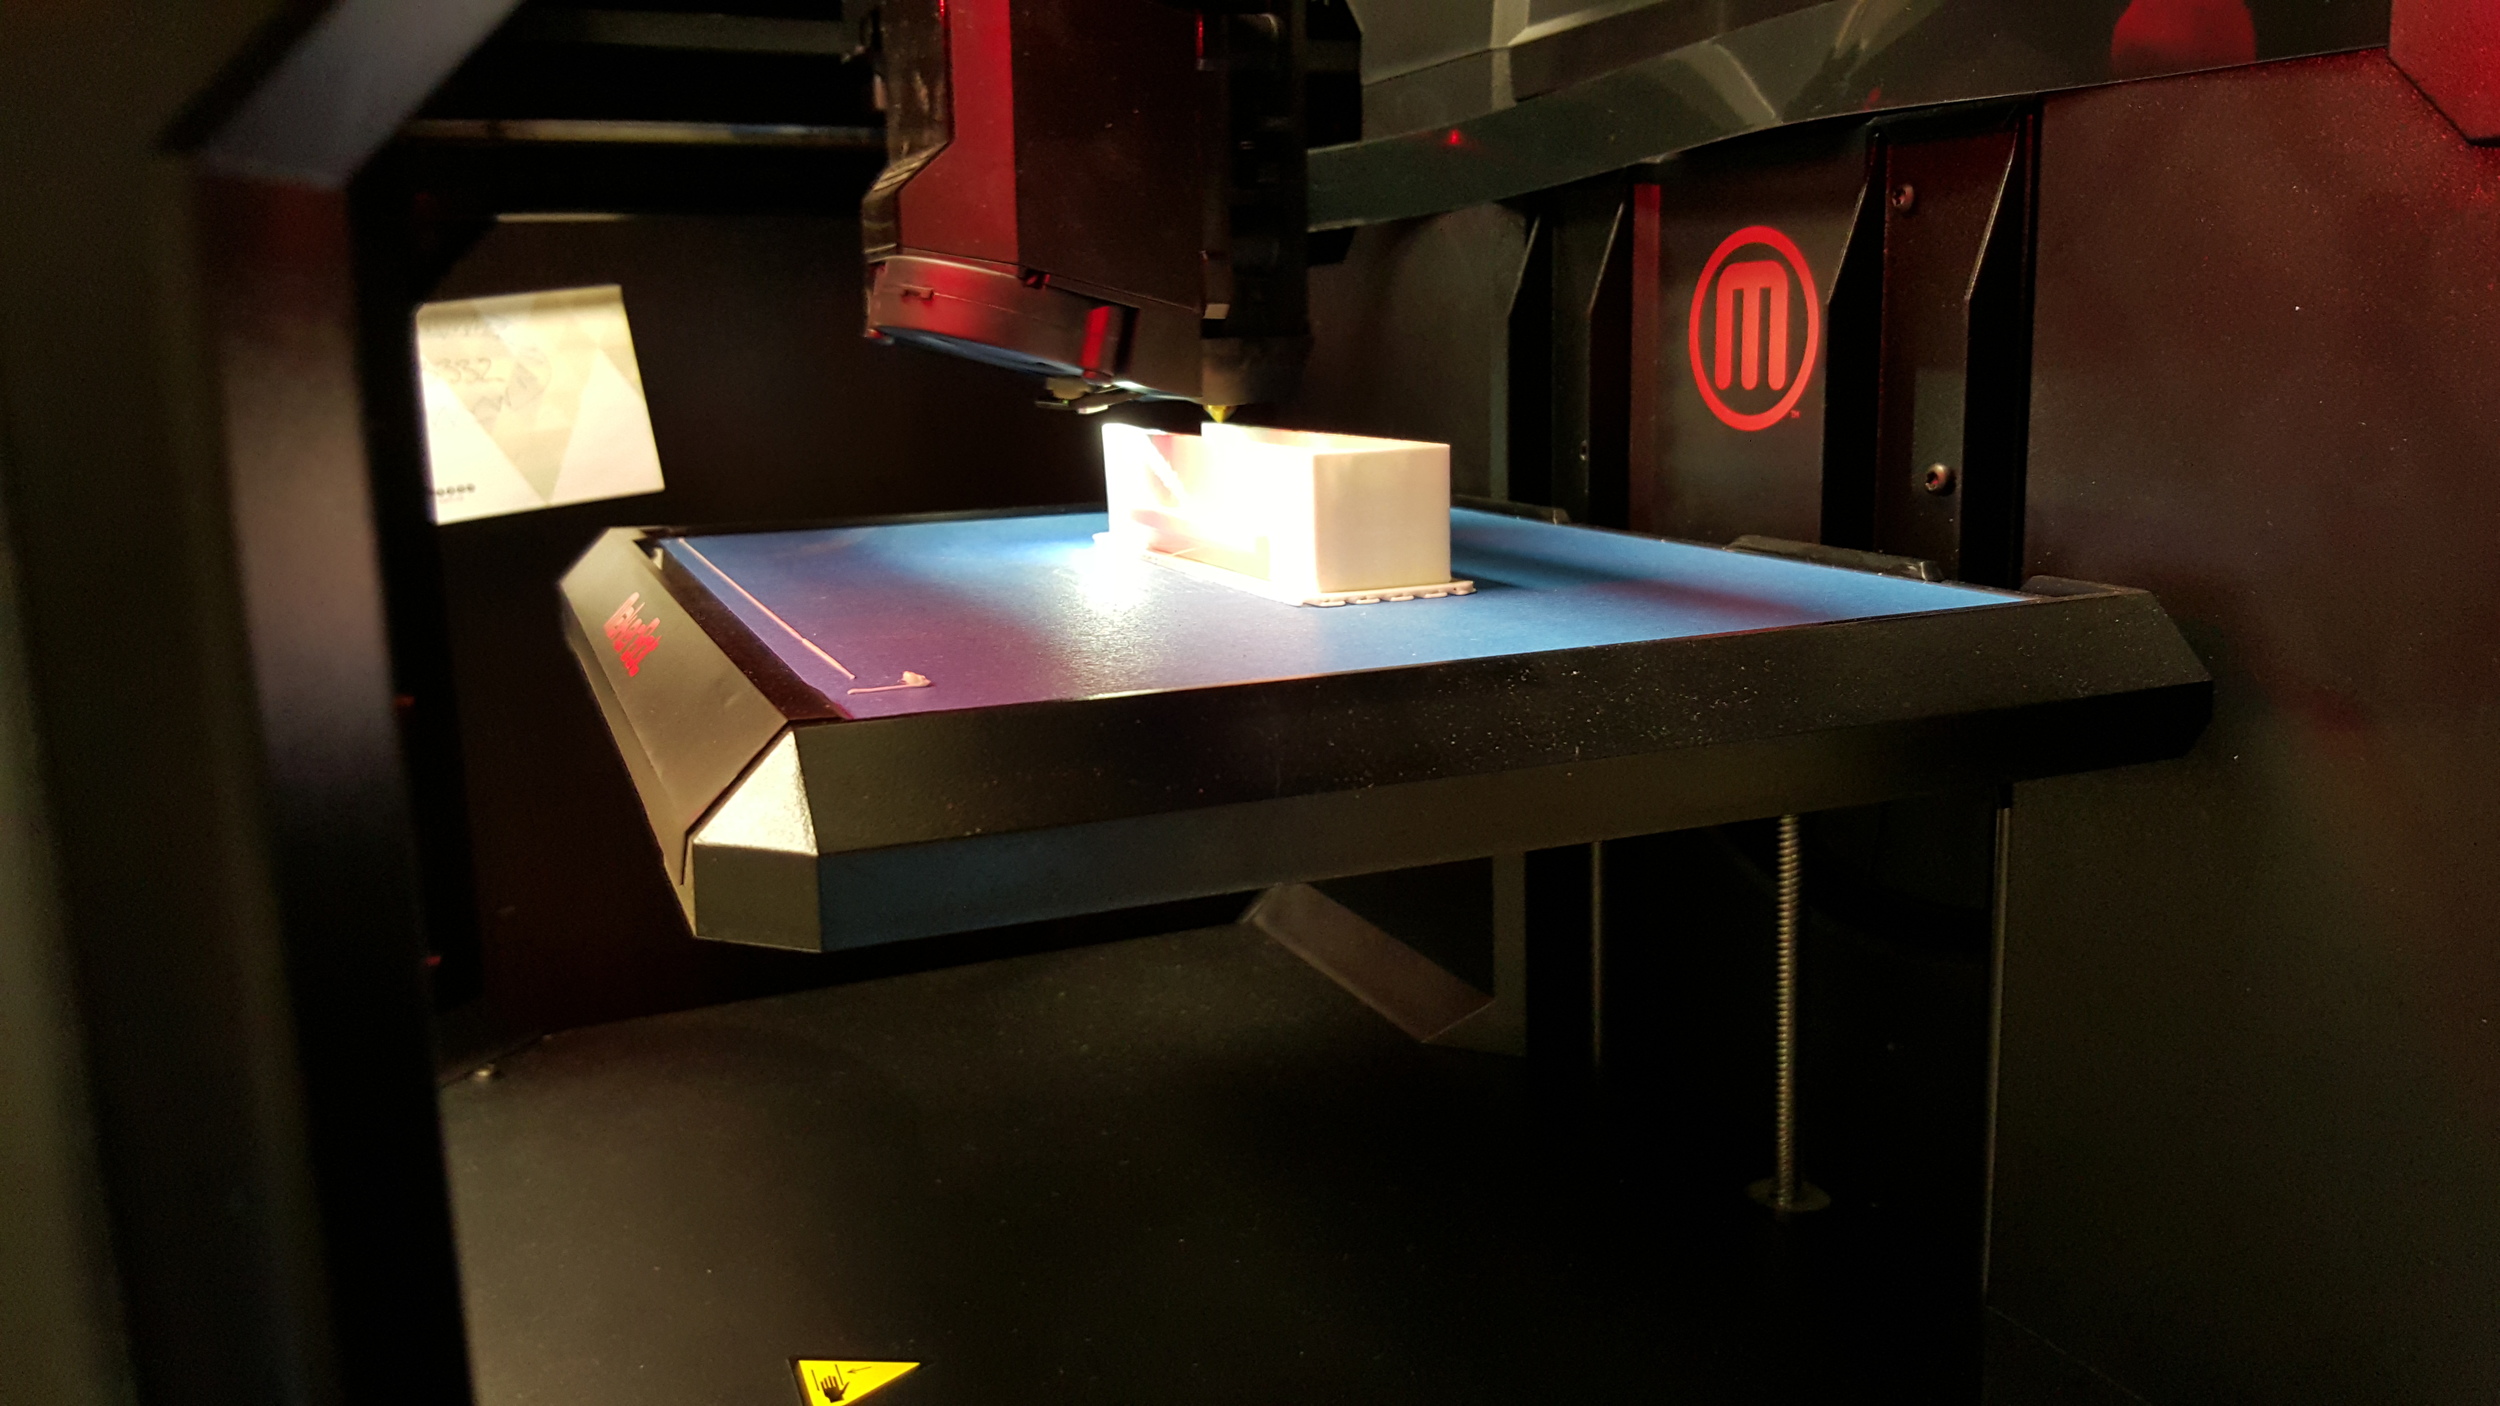
Here is a shot of the printer I used. Pretty damn cool!
It took sometime to get the program sorted and figured out but once I understood what to do it was a breeze.
Learned a few things and have a few things I'd like to try differently now that I understand the process better.
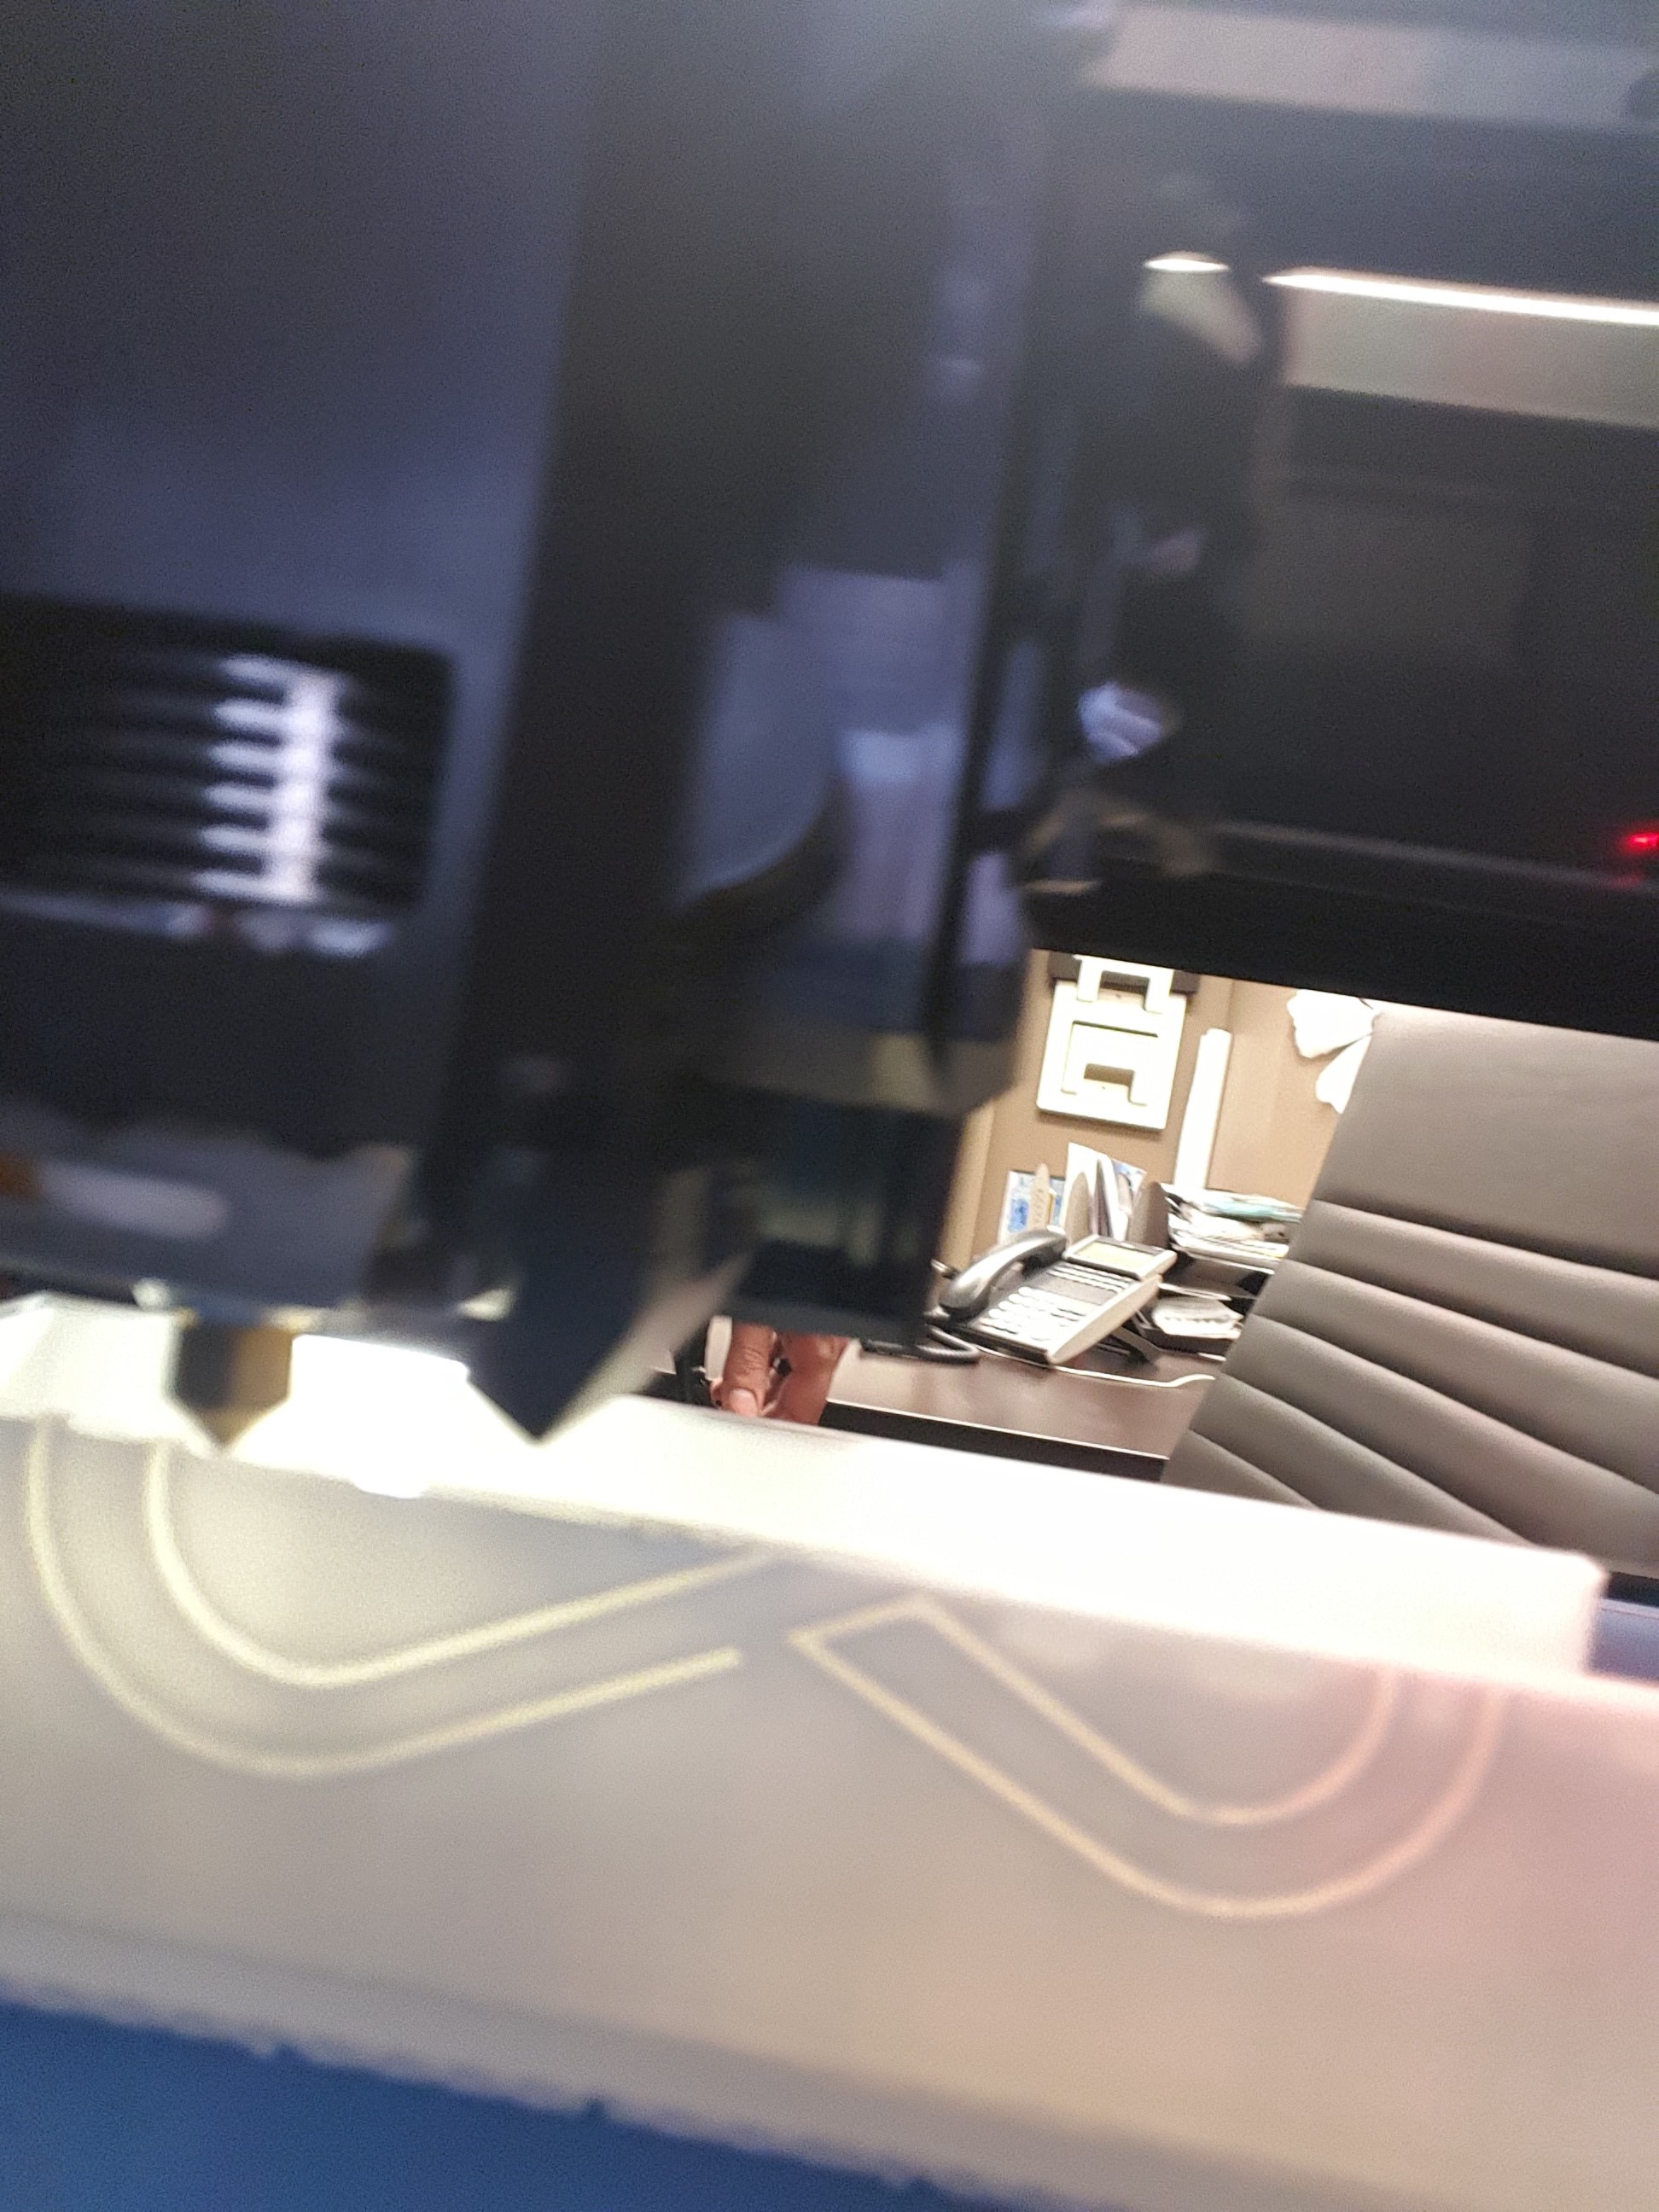
Here are some shots throughout the printing process.
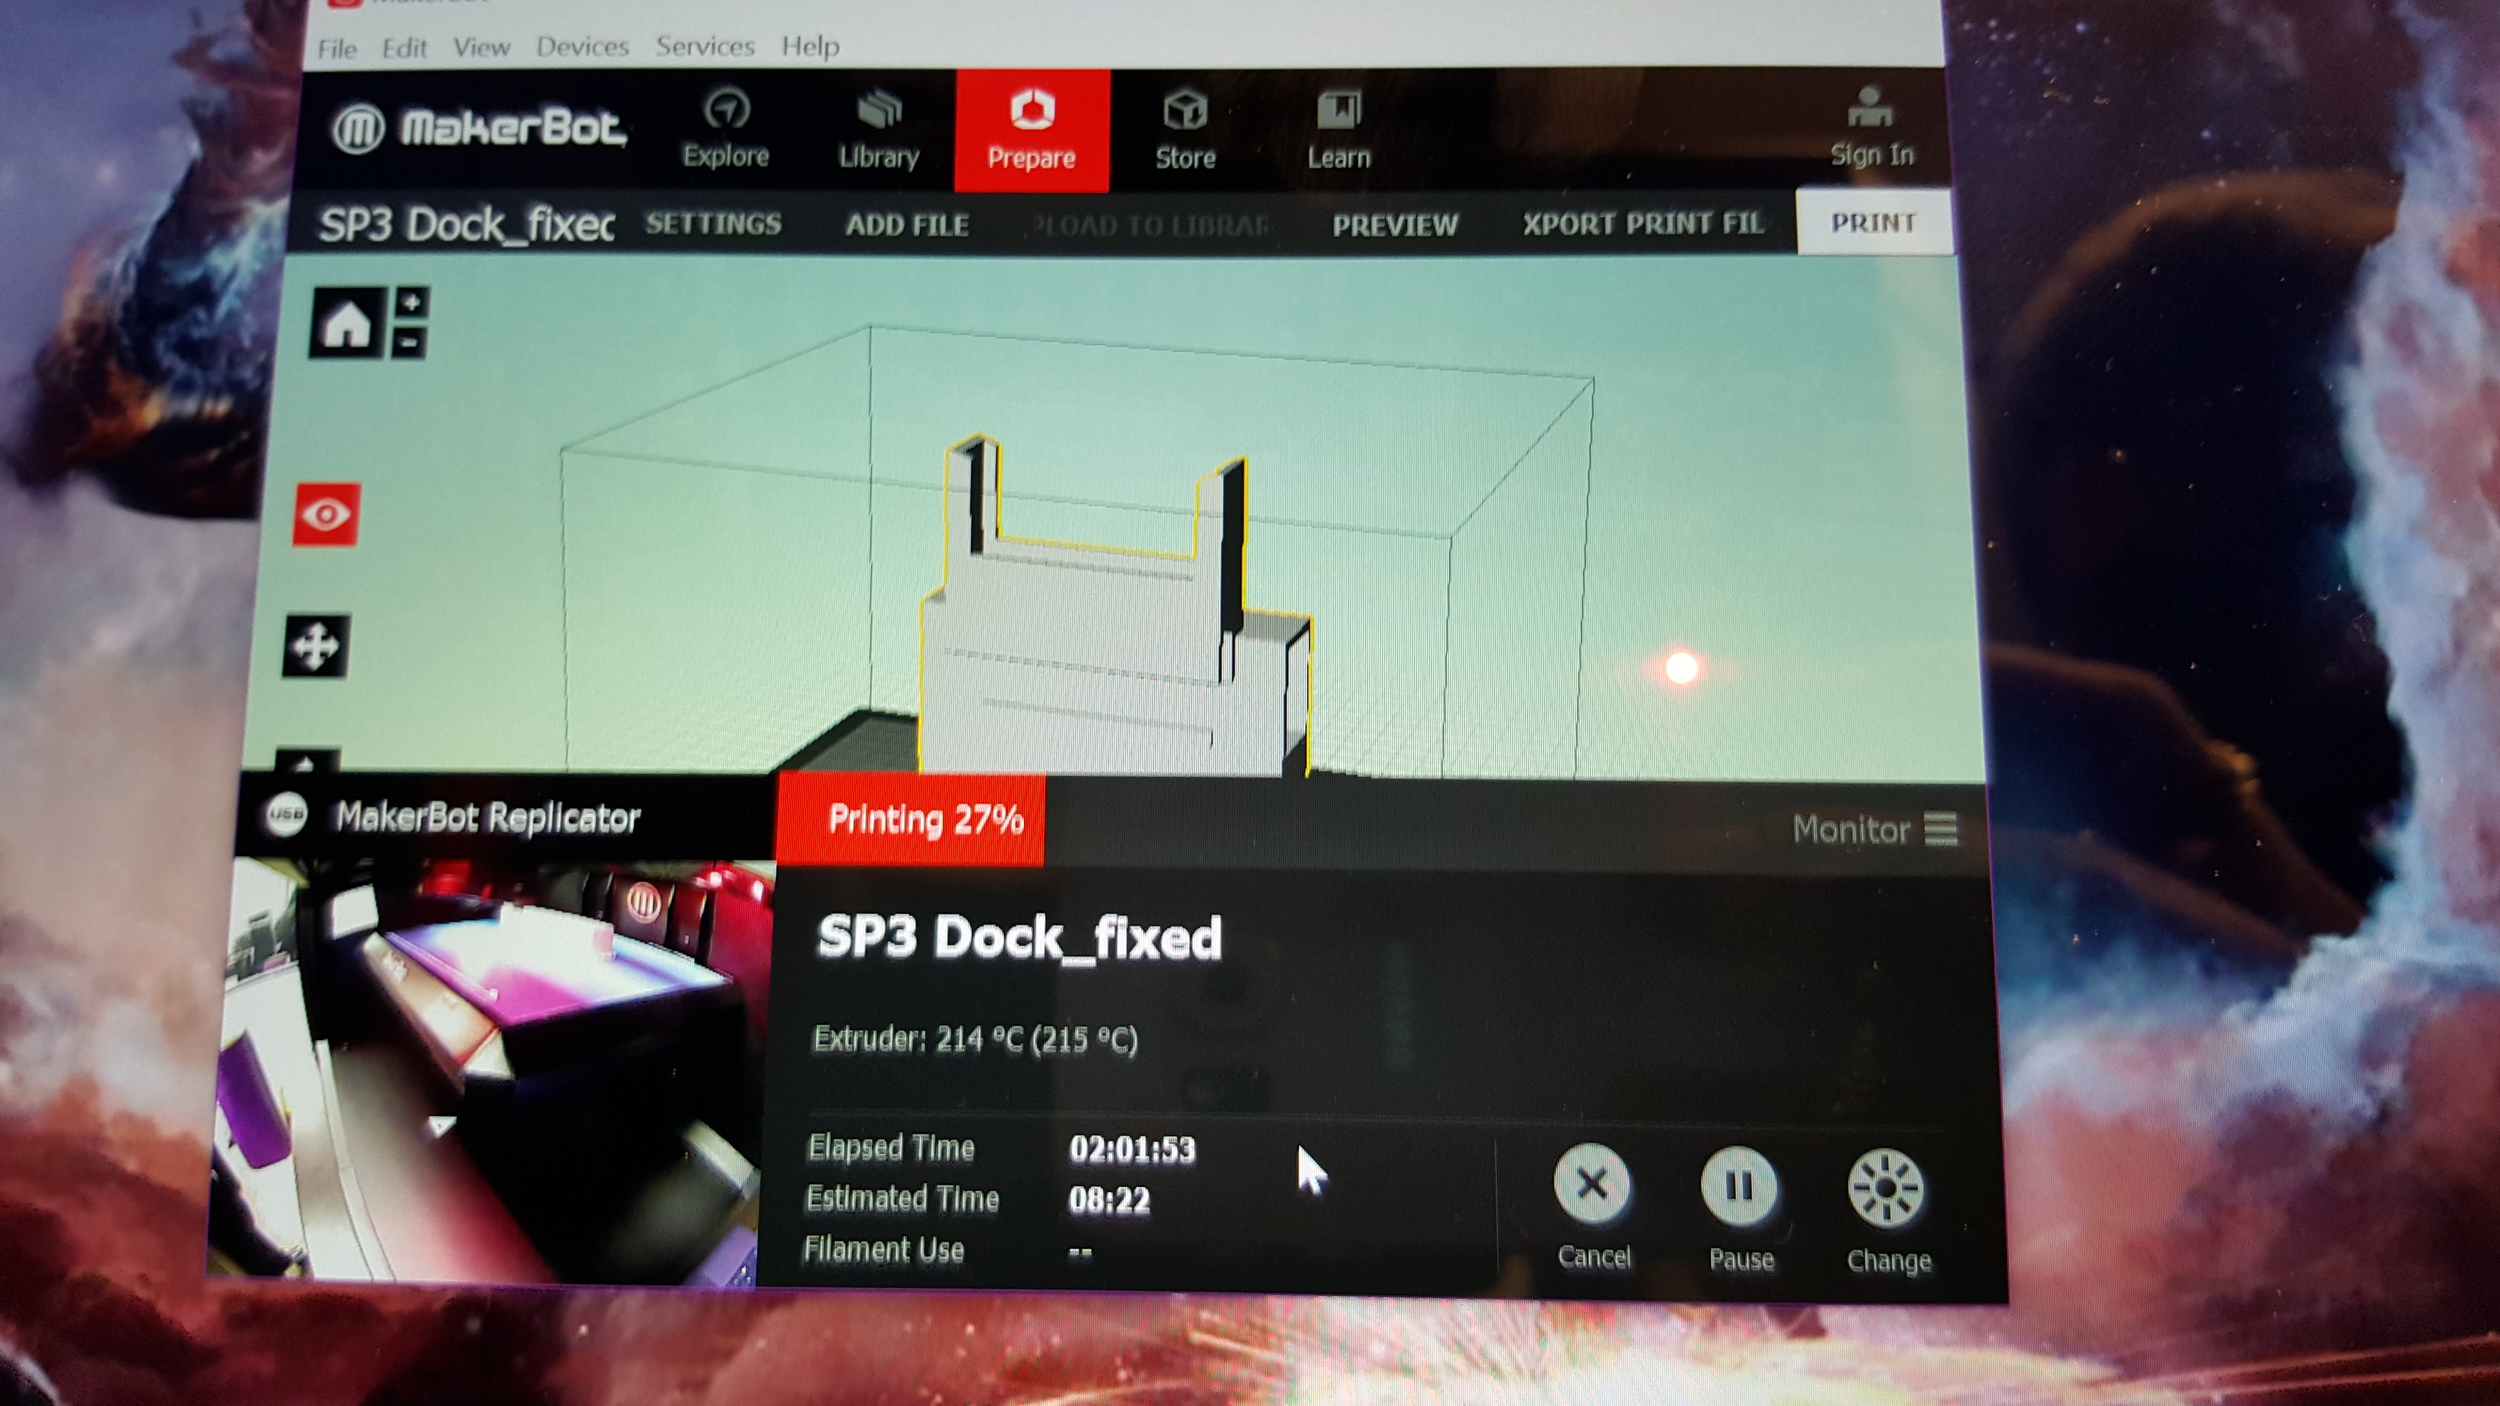
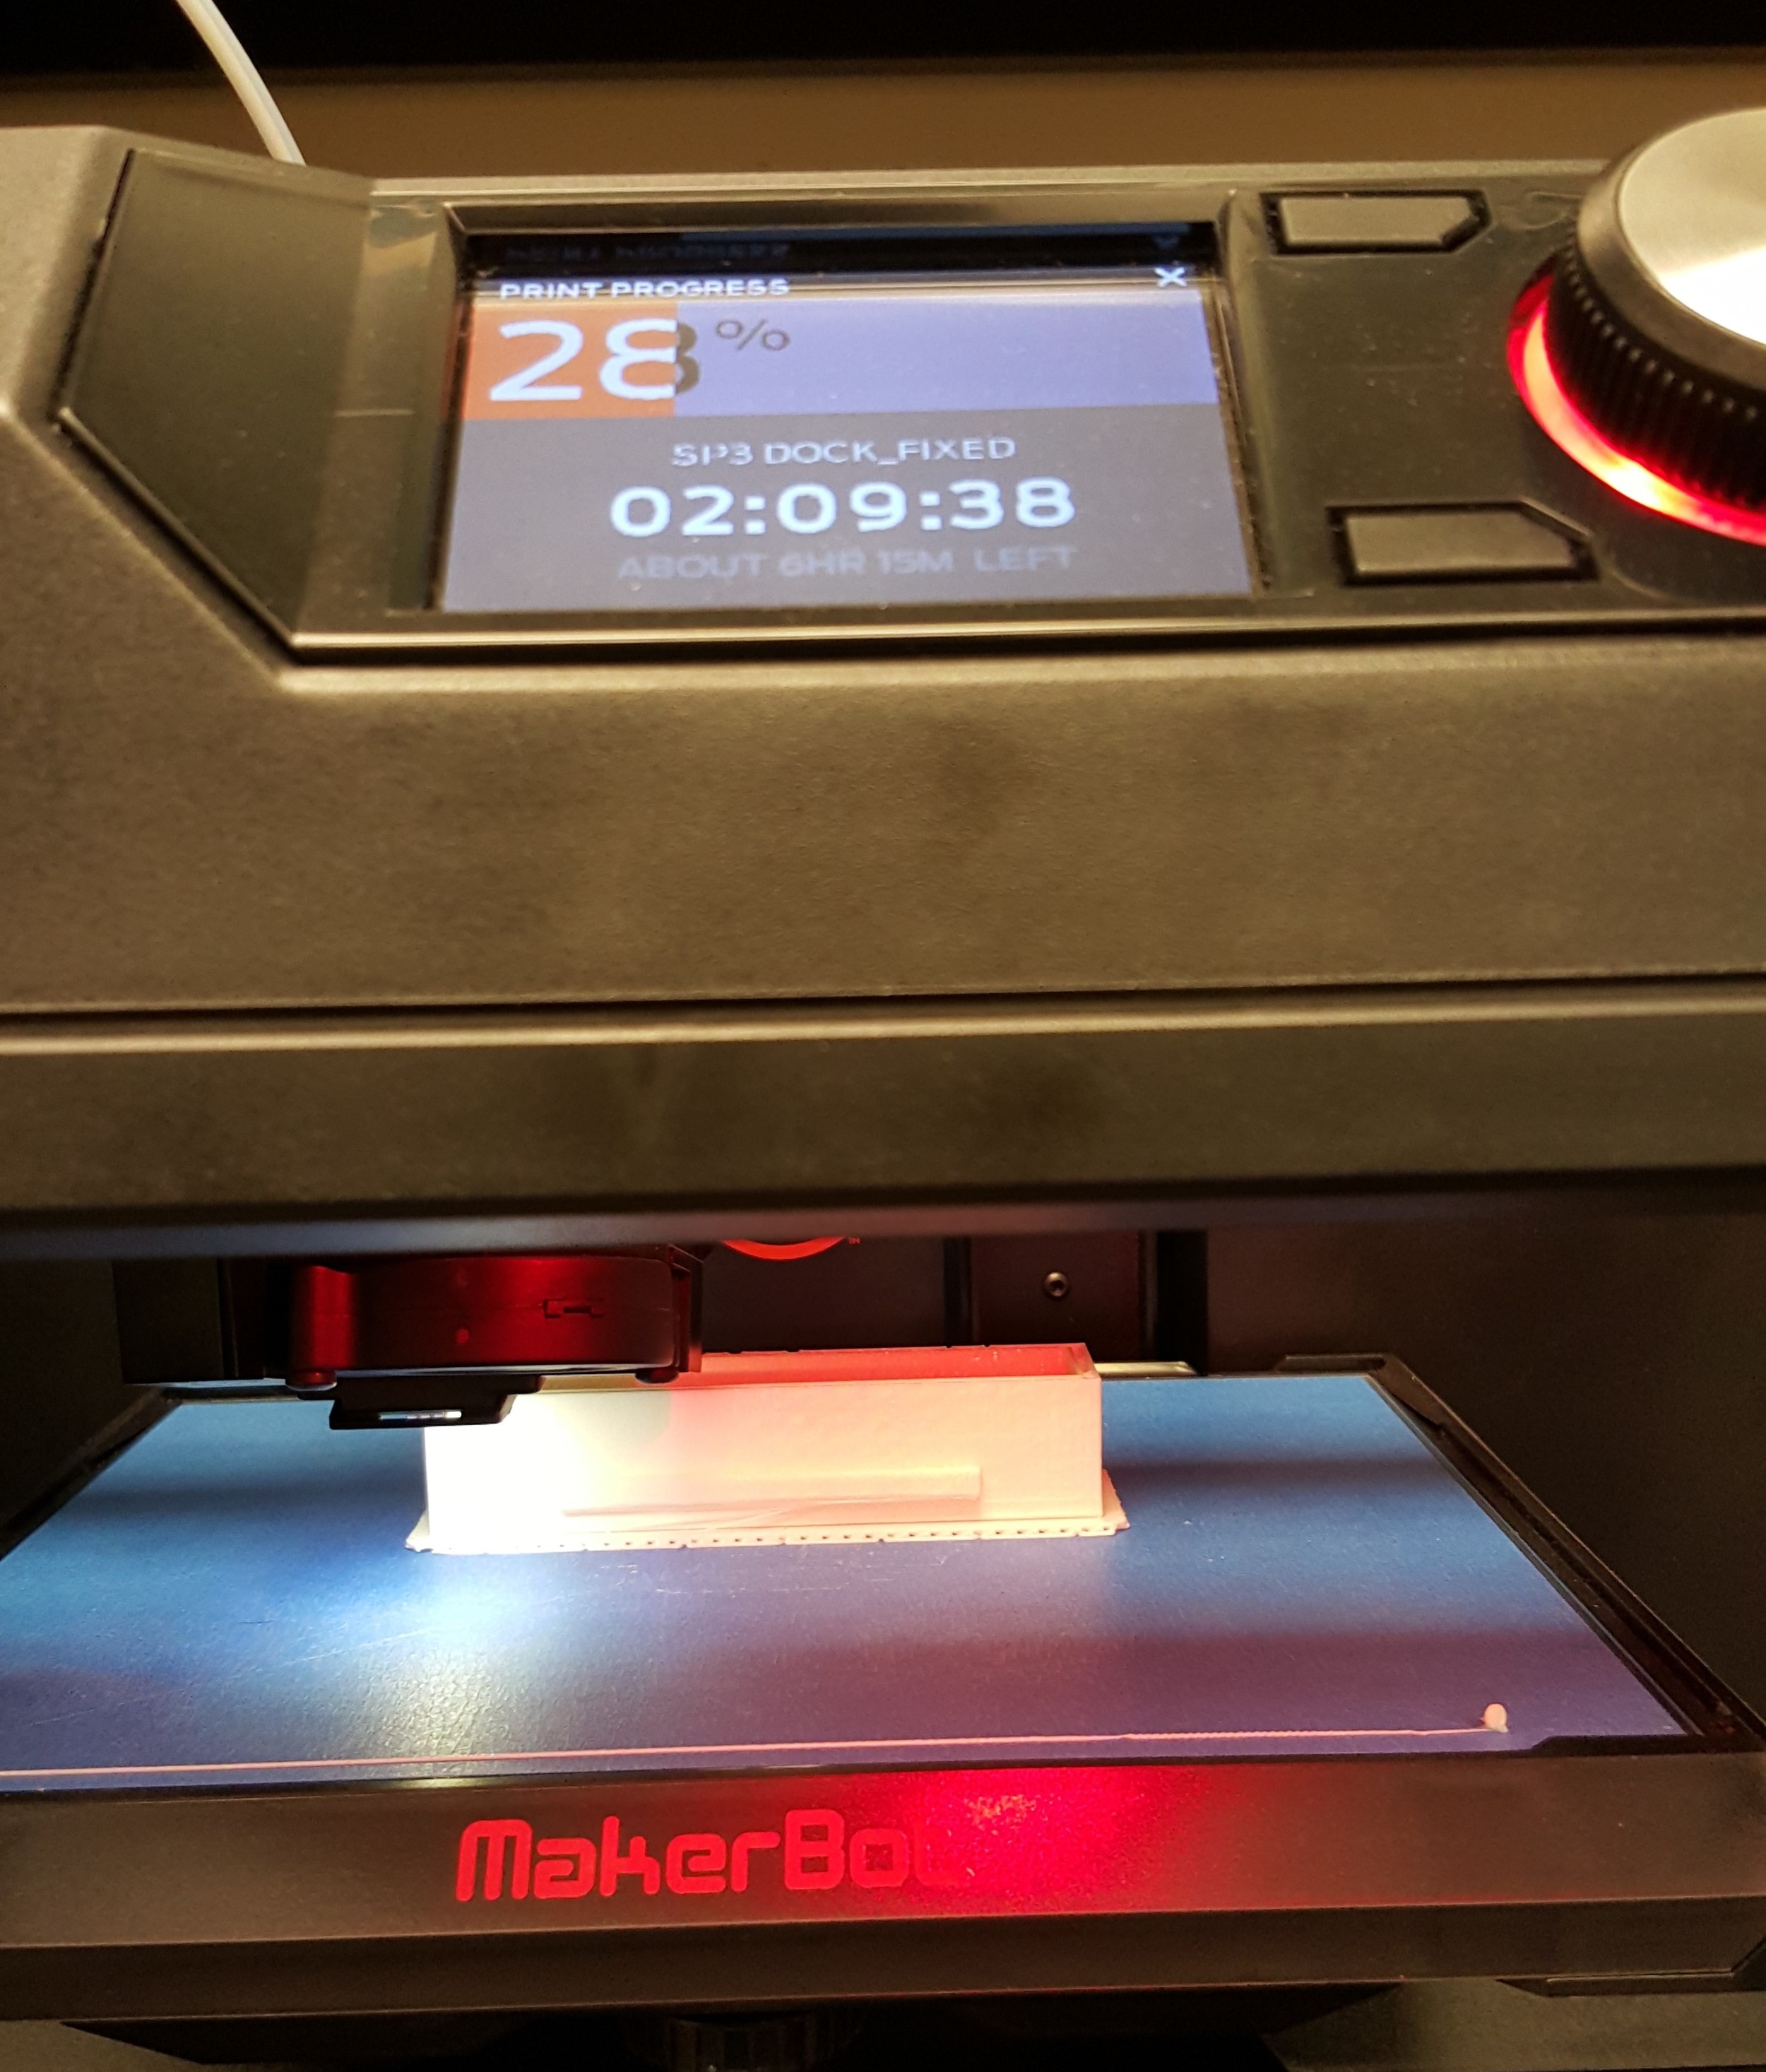
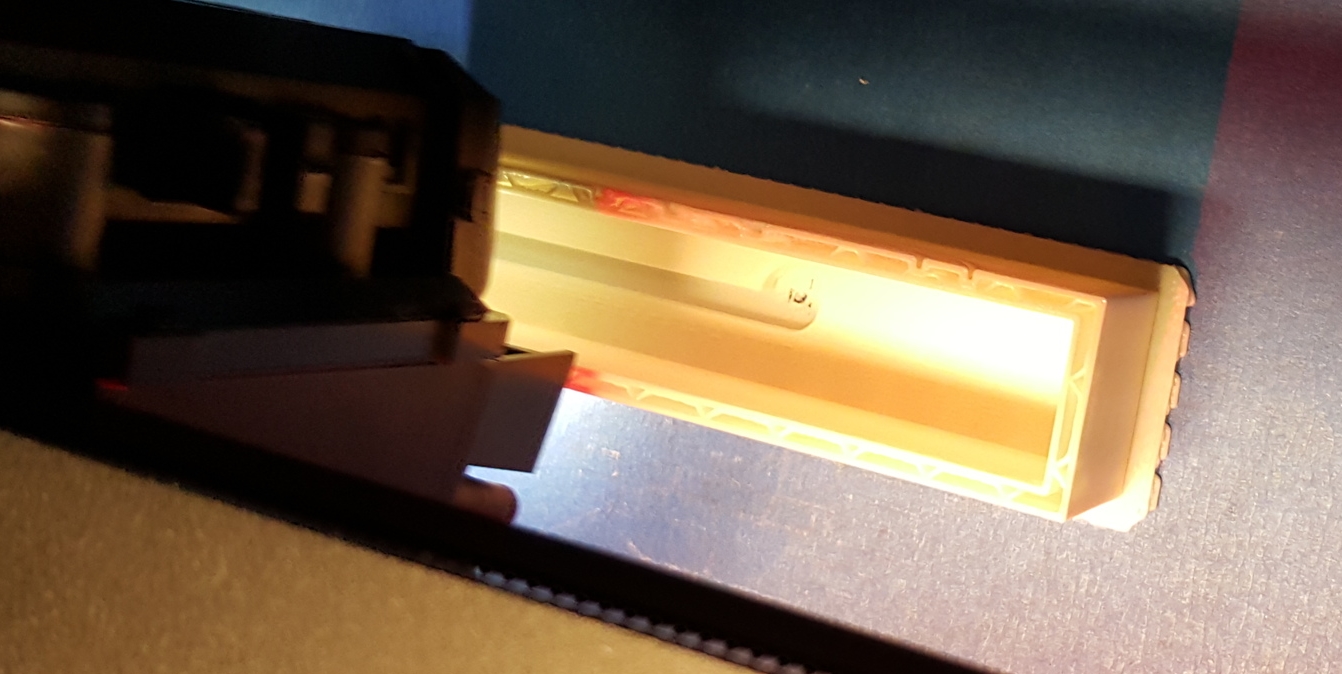

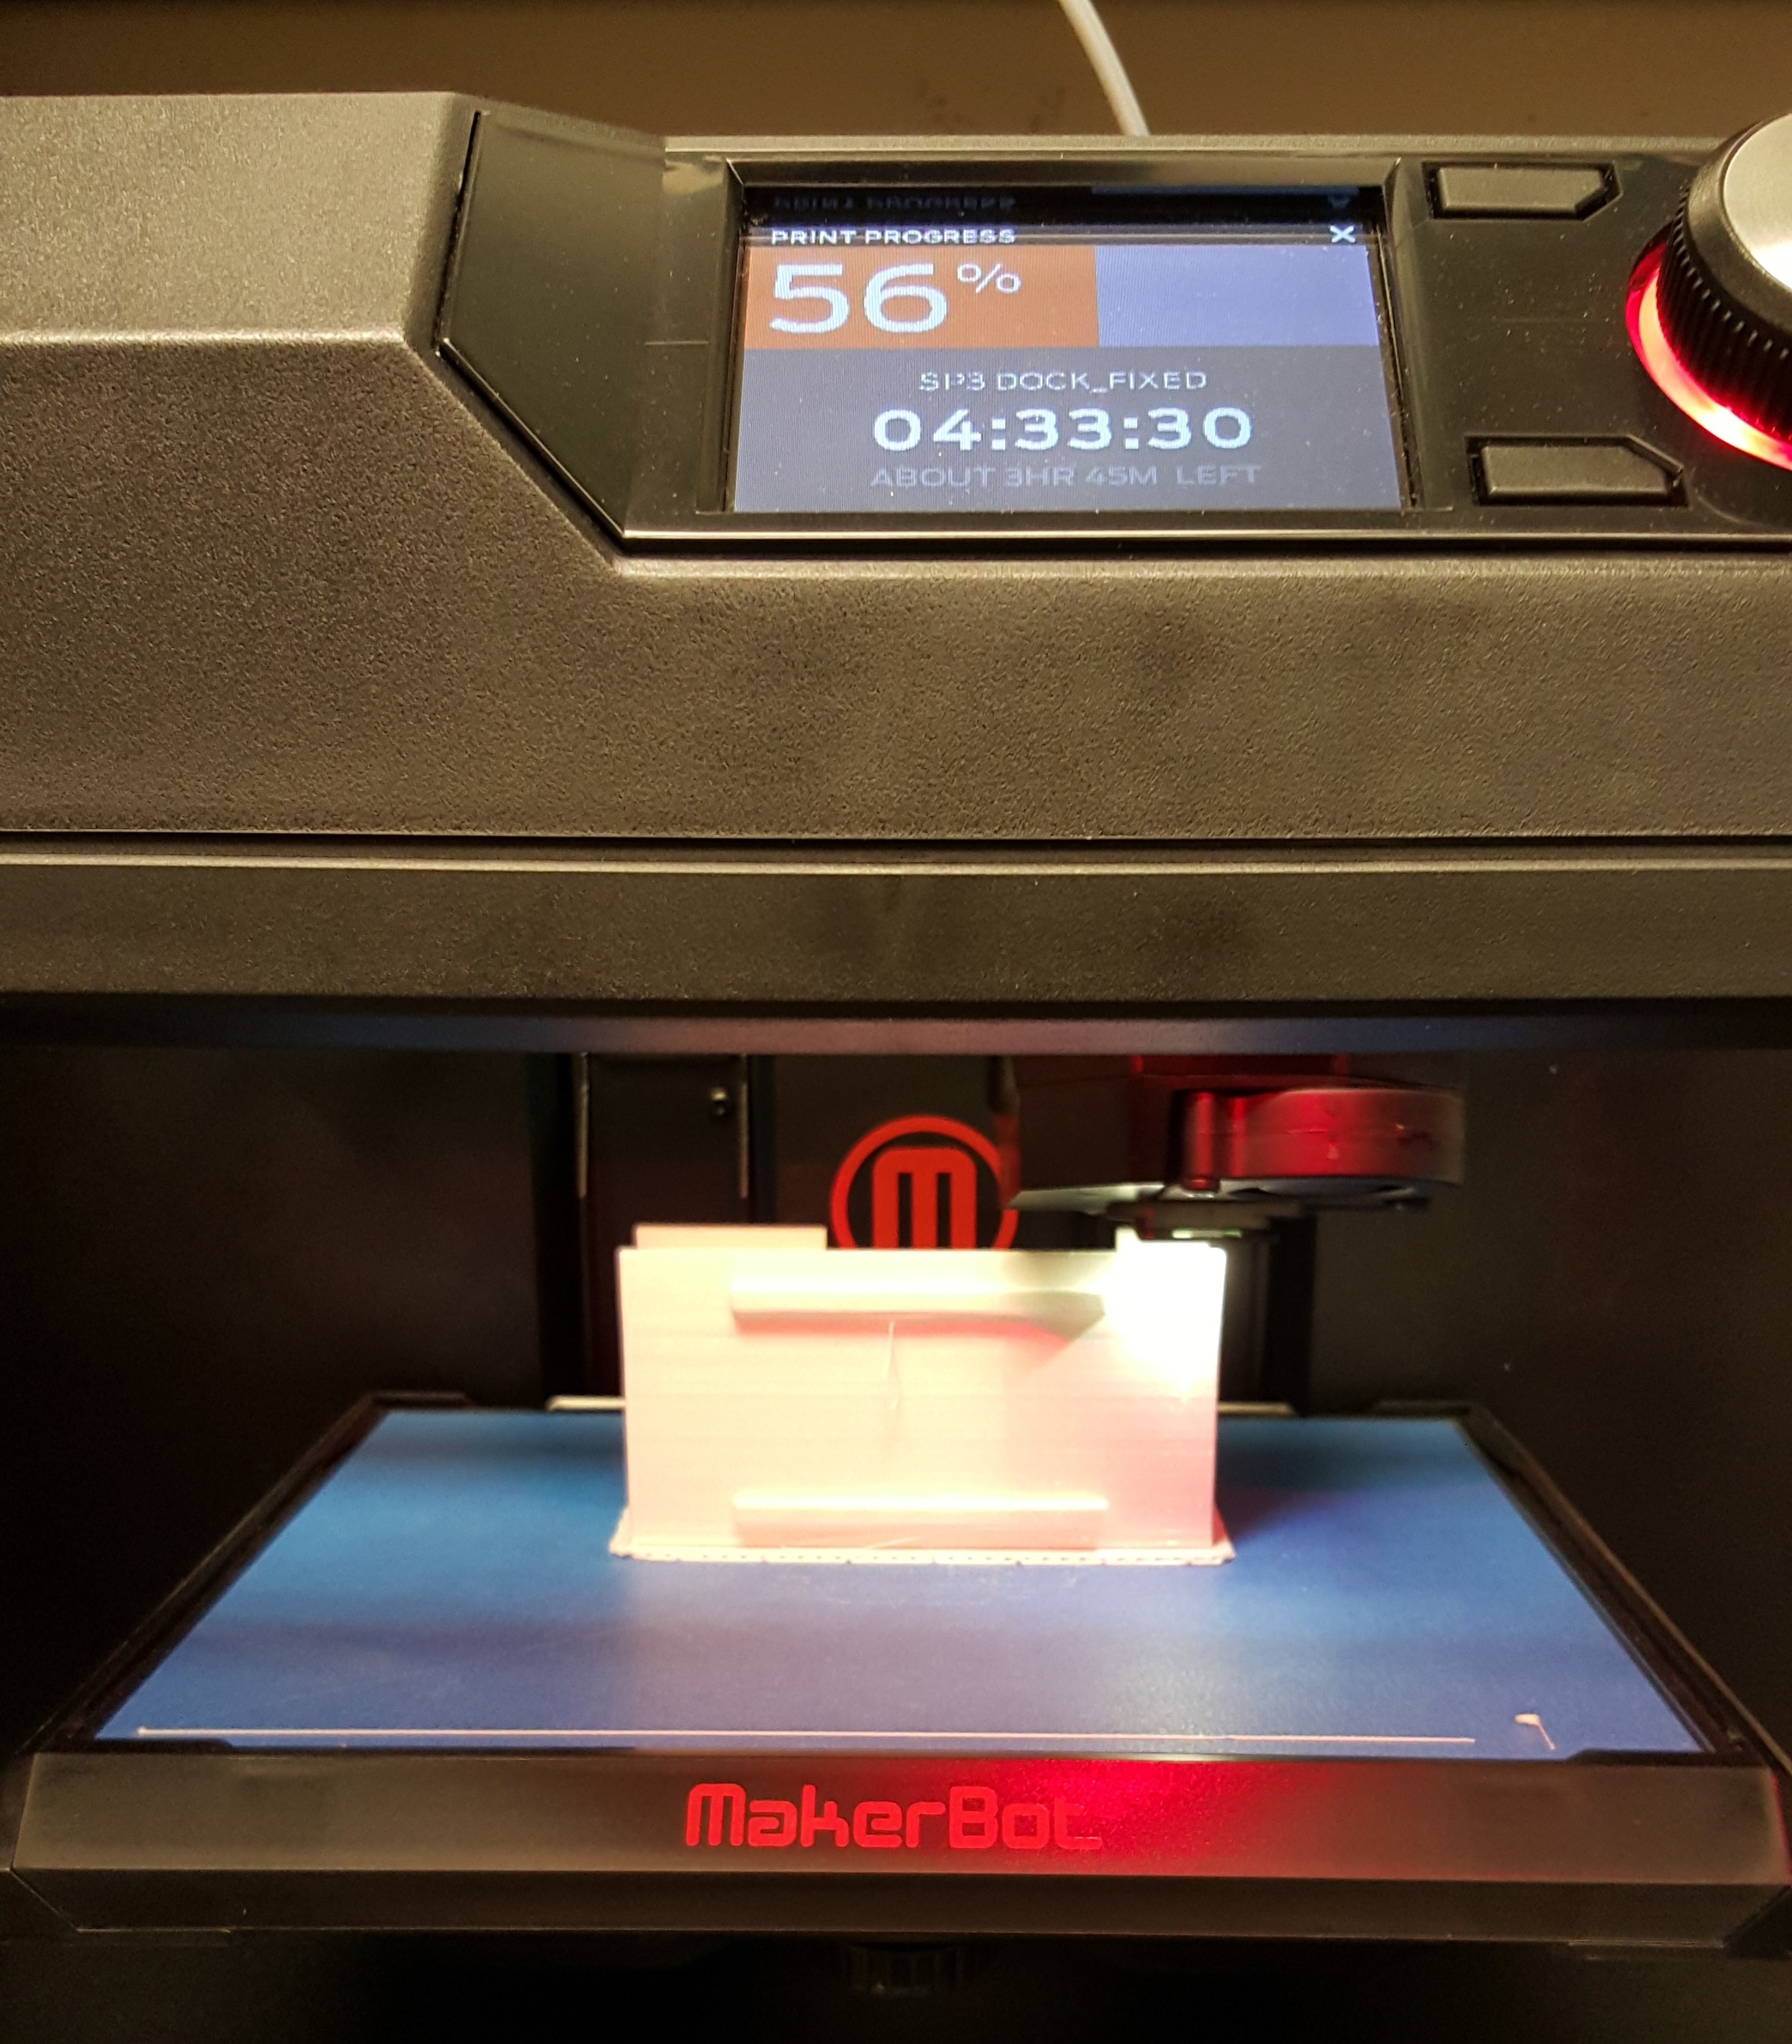
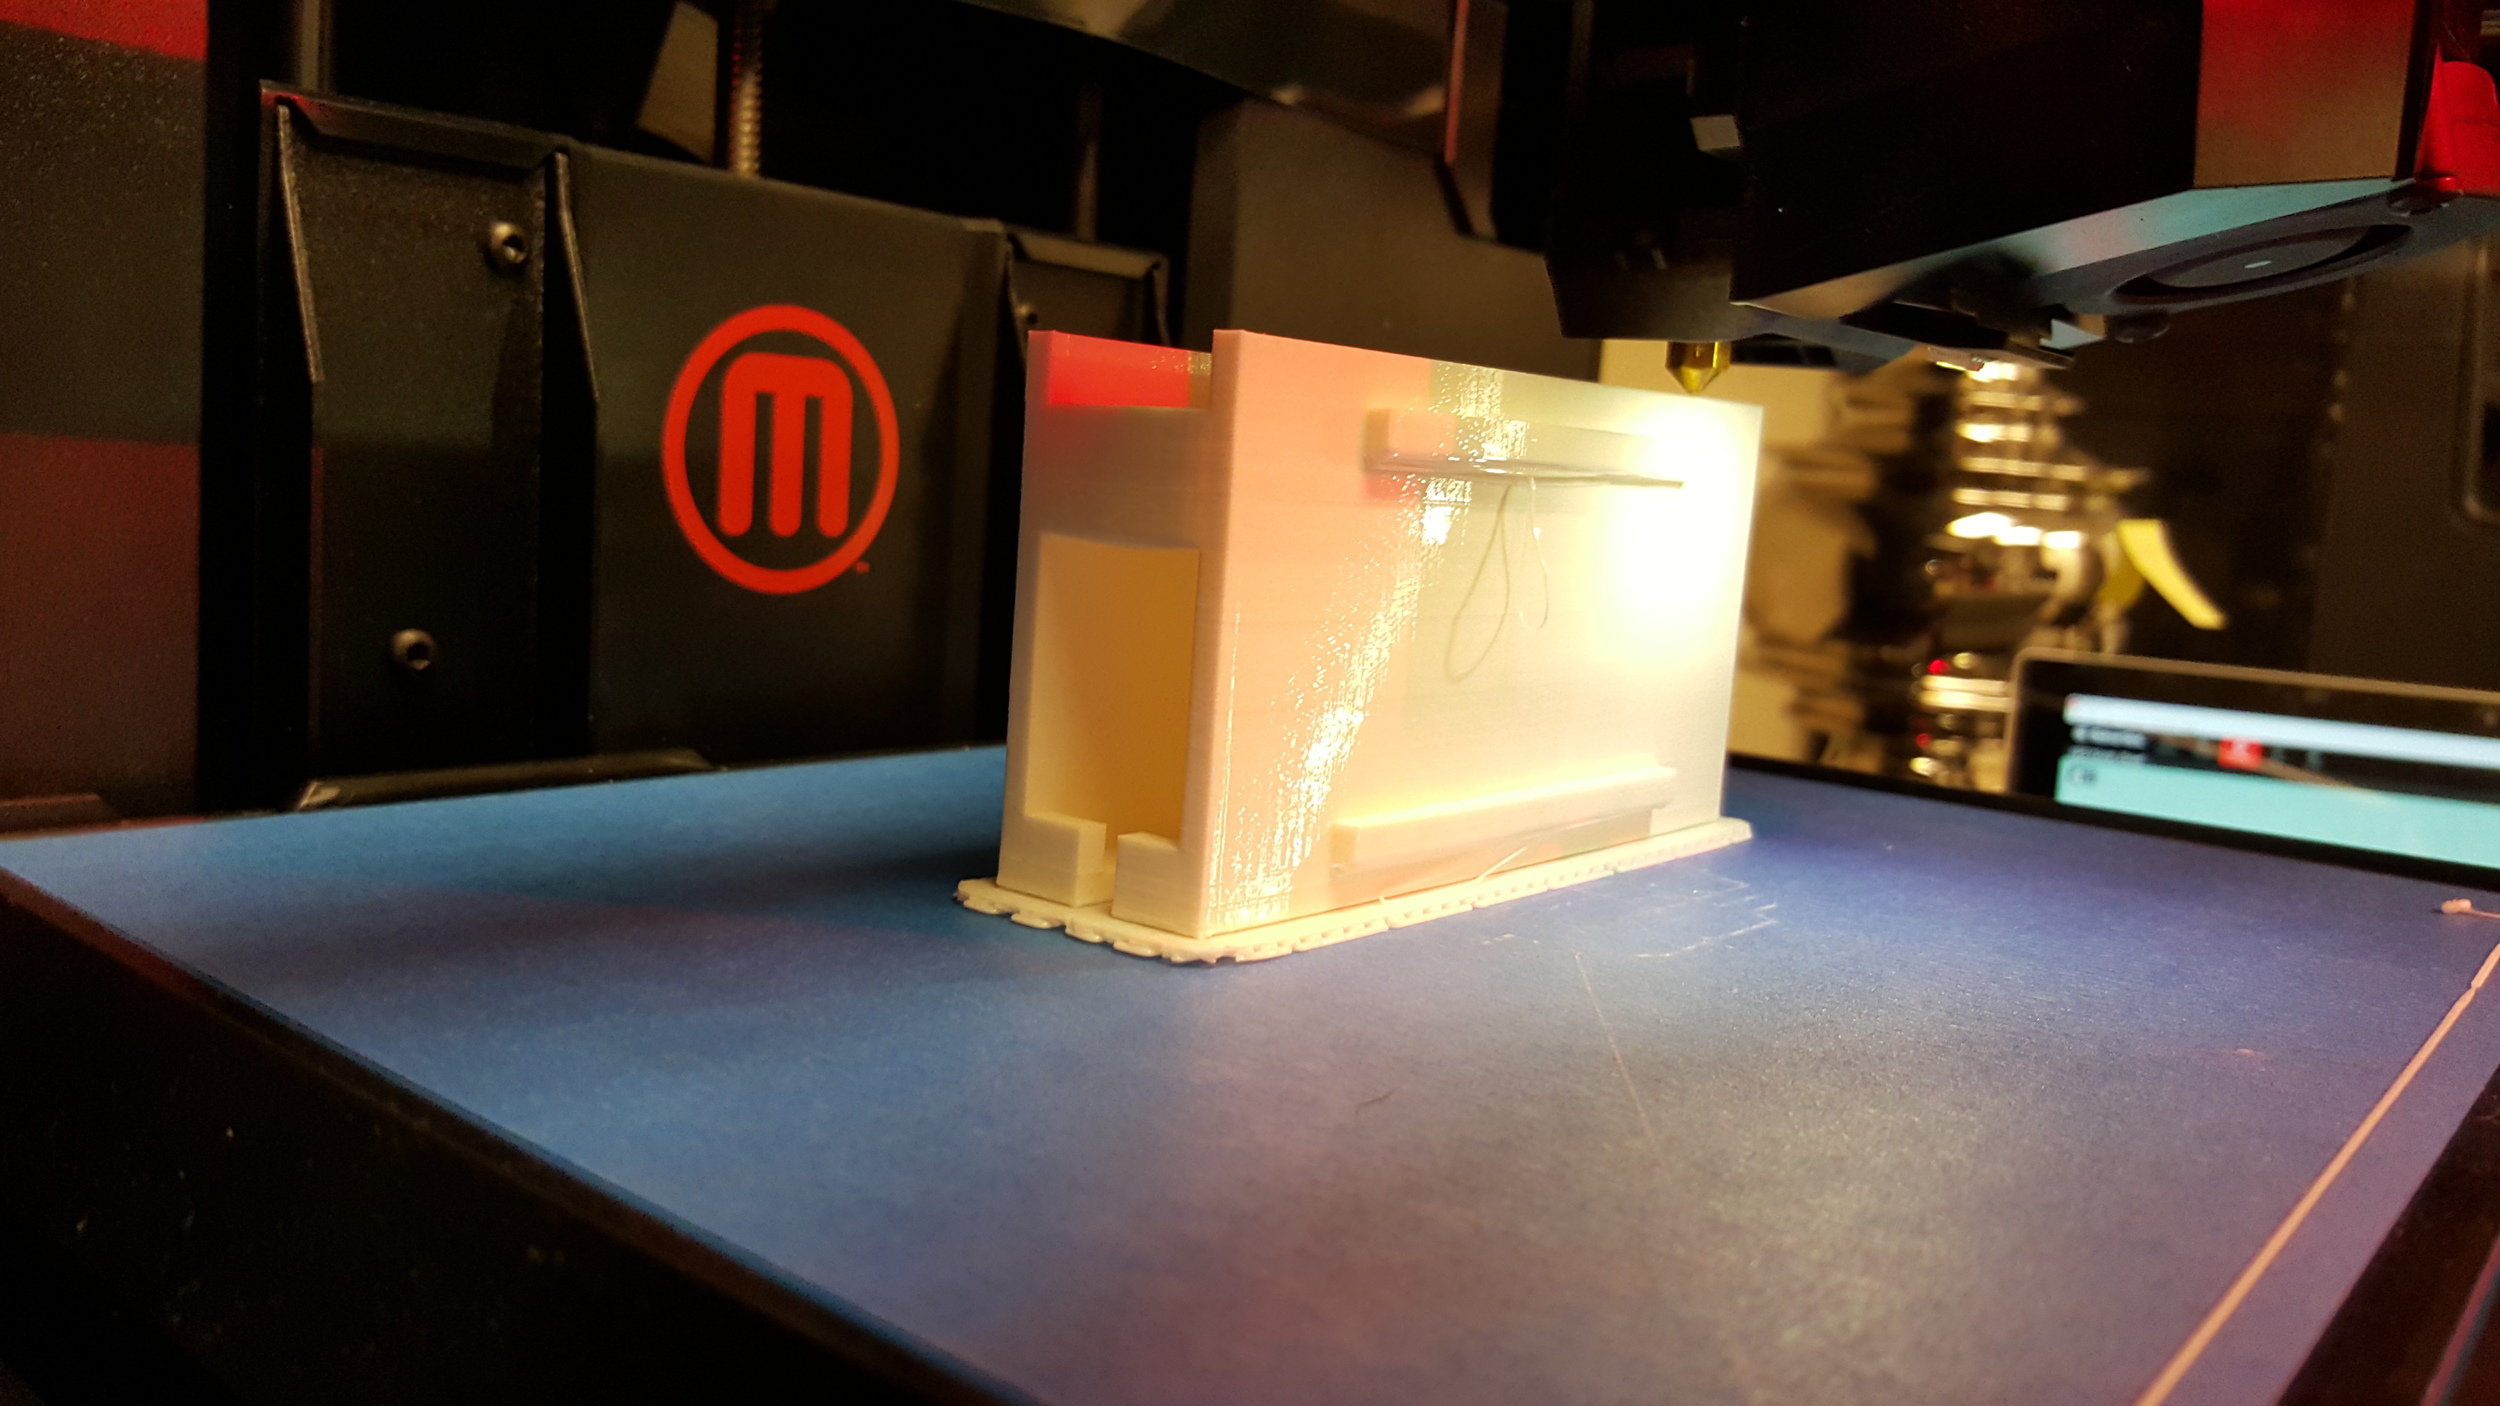
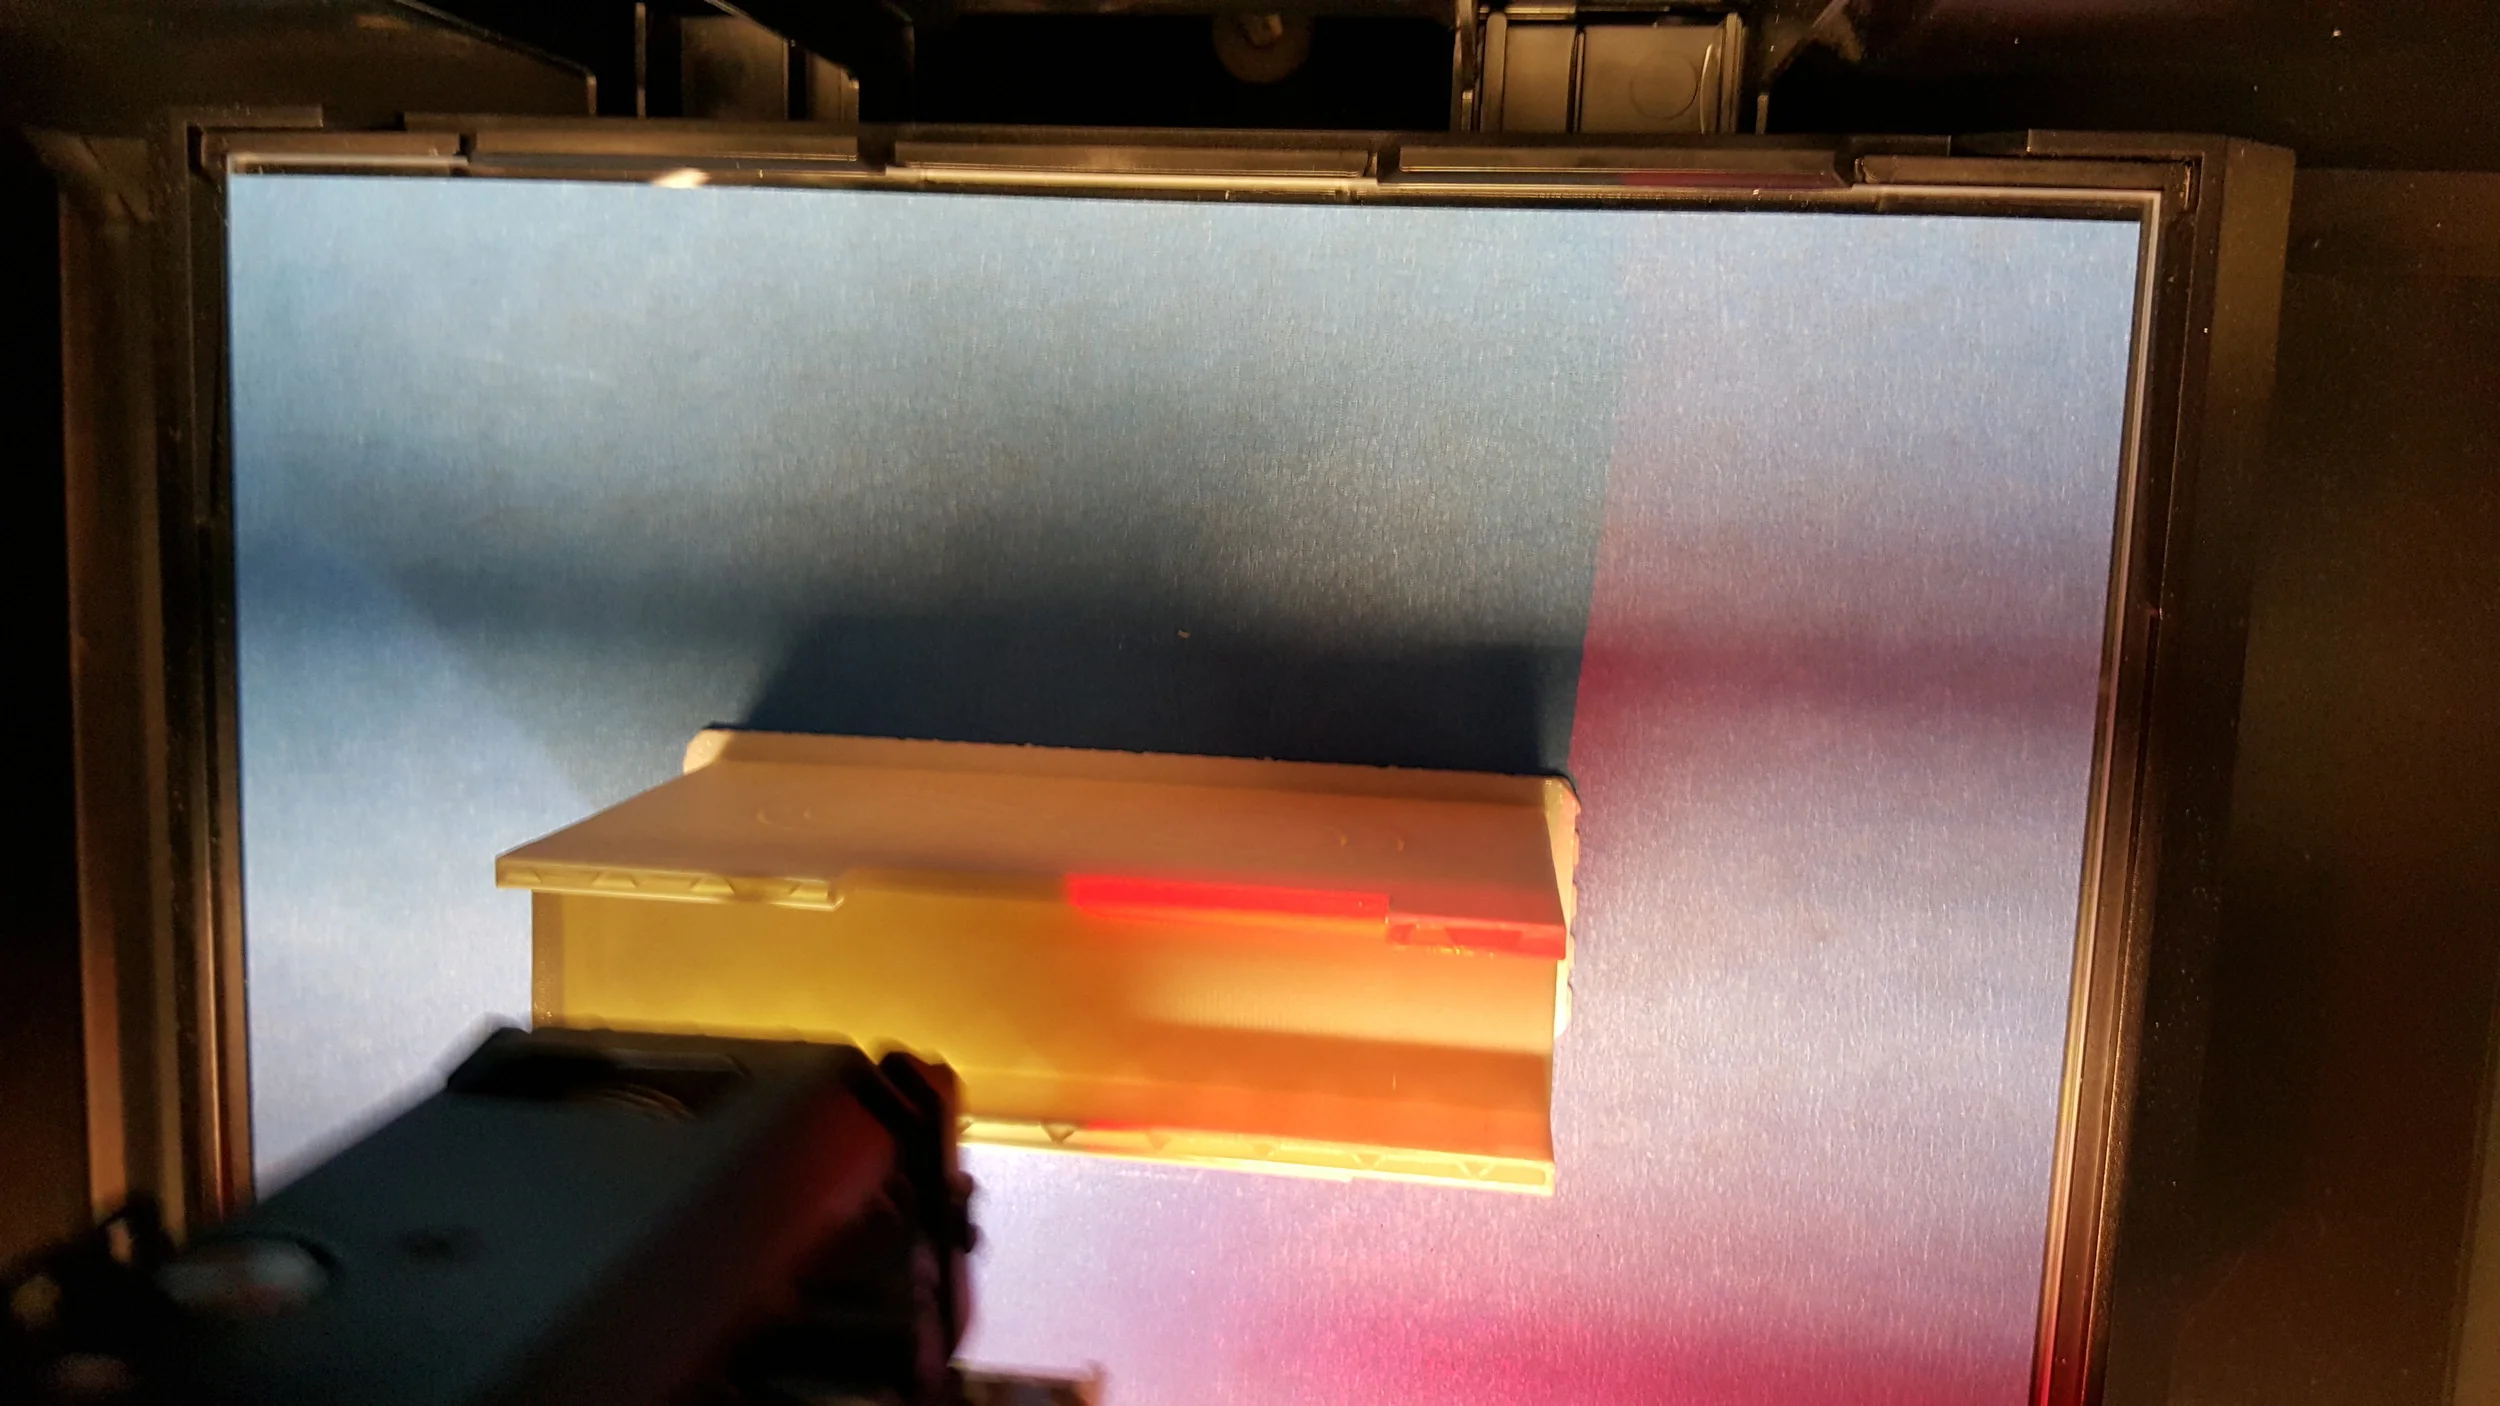

These were taken by my VERY patient wife. I could have sat there for the full 8 hours and watched it.


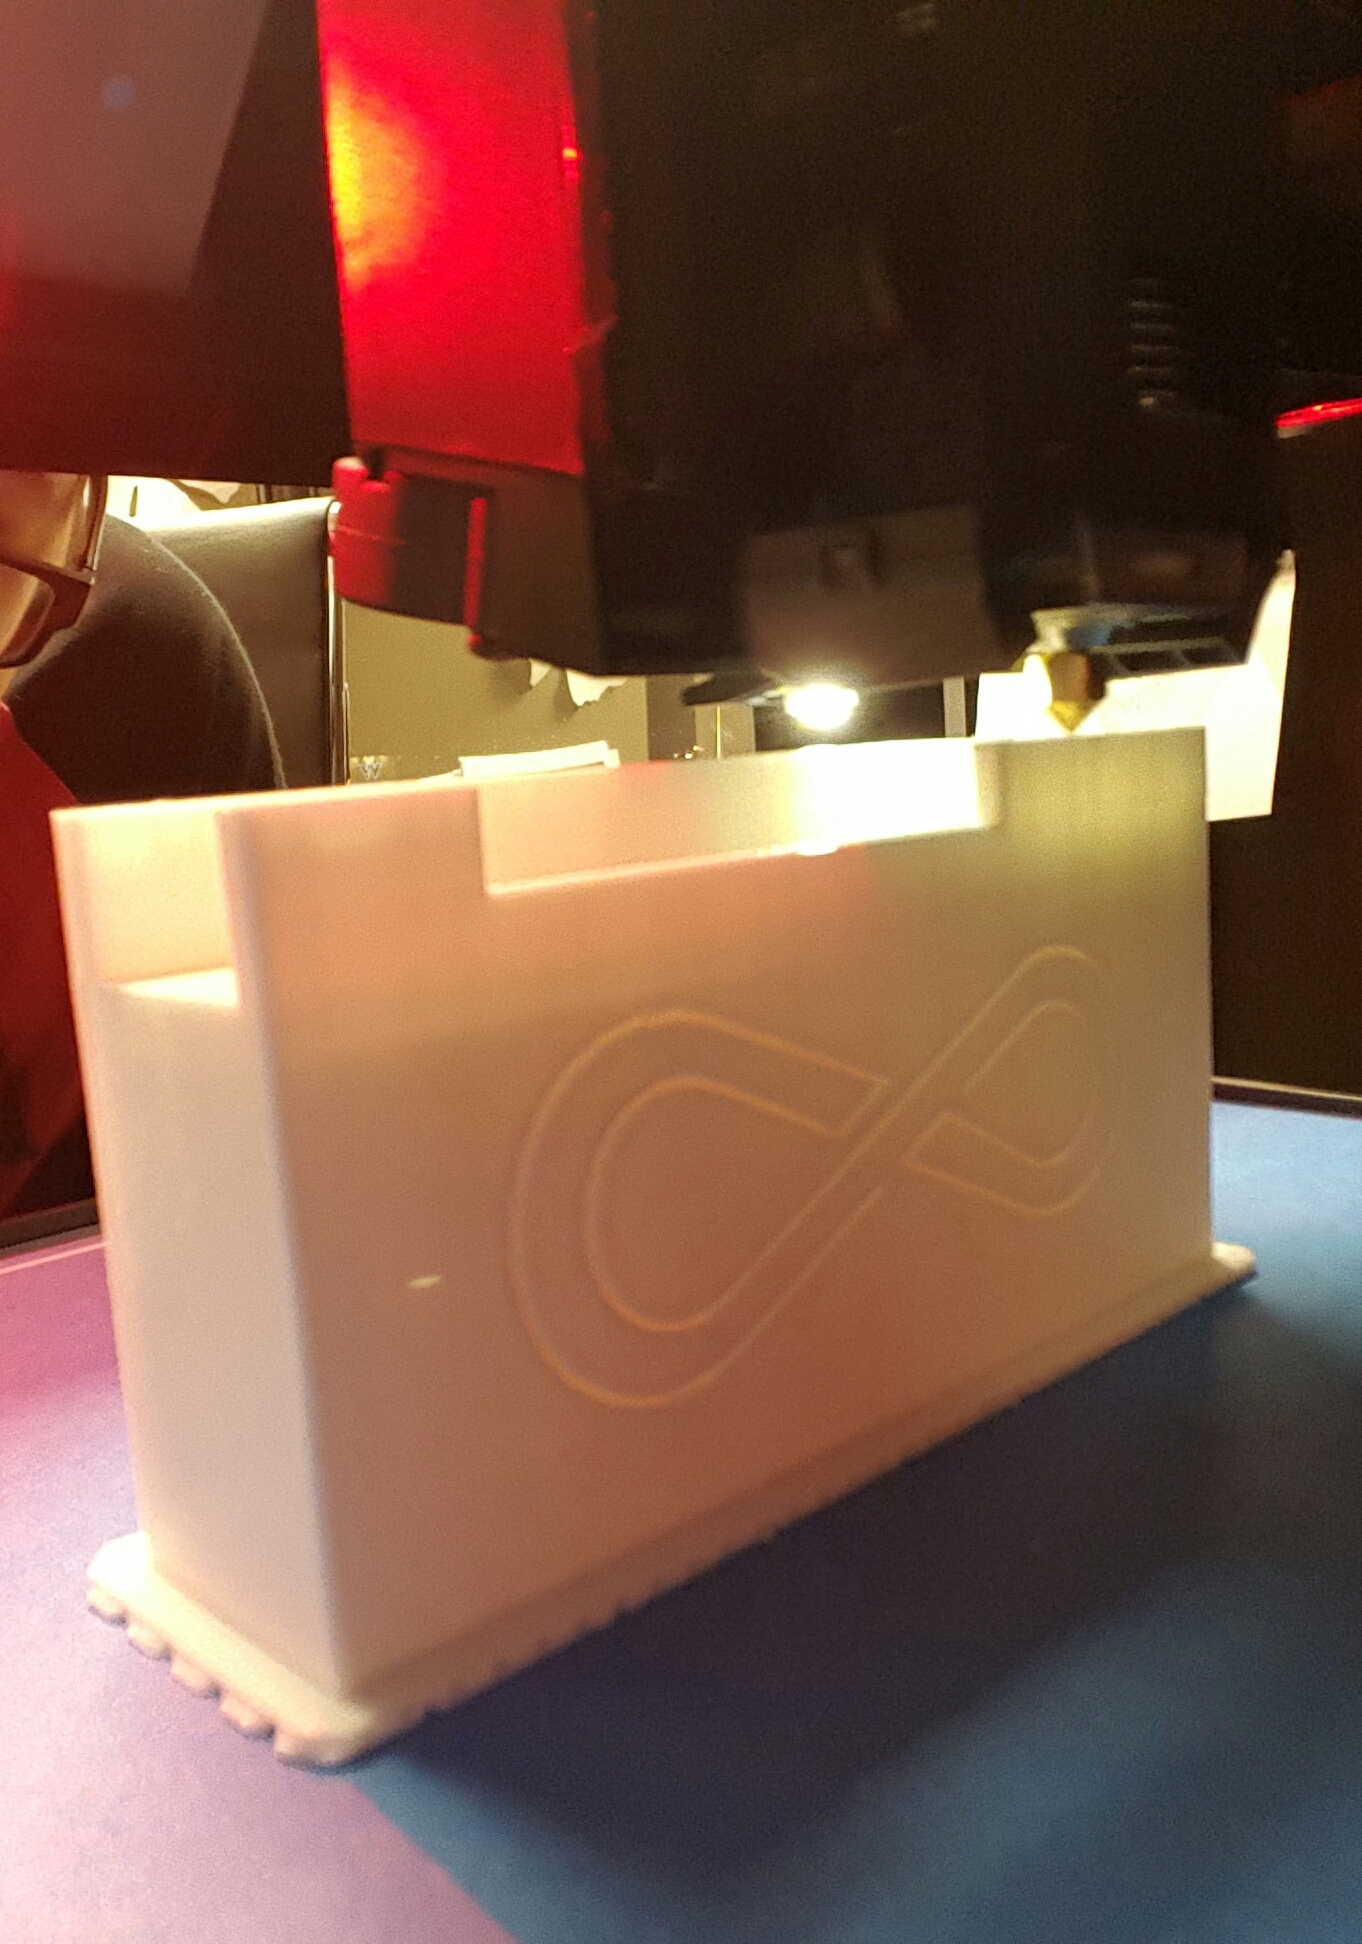
The finished product in position mounted on the Surface with the USB hub in place (left) and USB hub and excess cords tucked away inside (right). While it didn't turn out 100%, there were some issues with the front clip. Which was my fault for being too confident in my model and not using struts. Either way I am super happy and pleased with it for my first attempt at printing. I'm going to see if I can mold the front clip and clean it up a bit, then throw a coat of color on it and it'll be ready for action as soon as the fan comes in. More pics to come.

